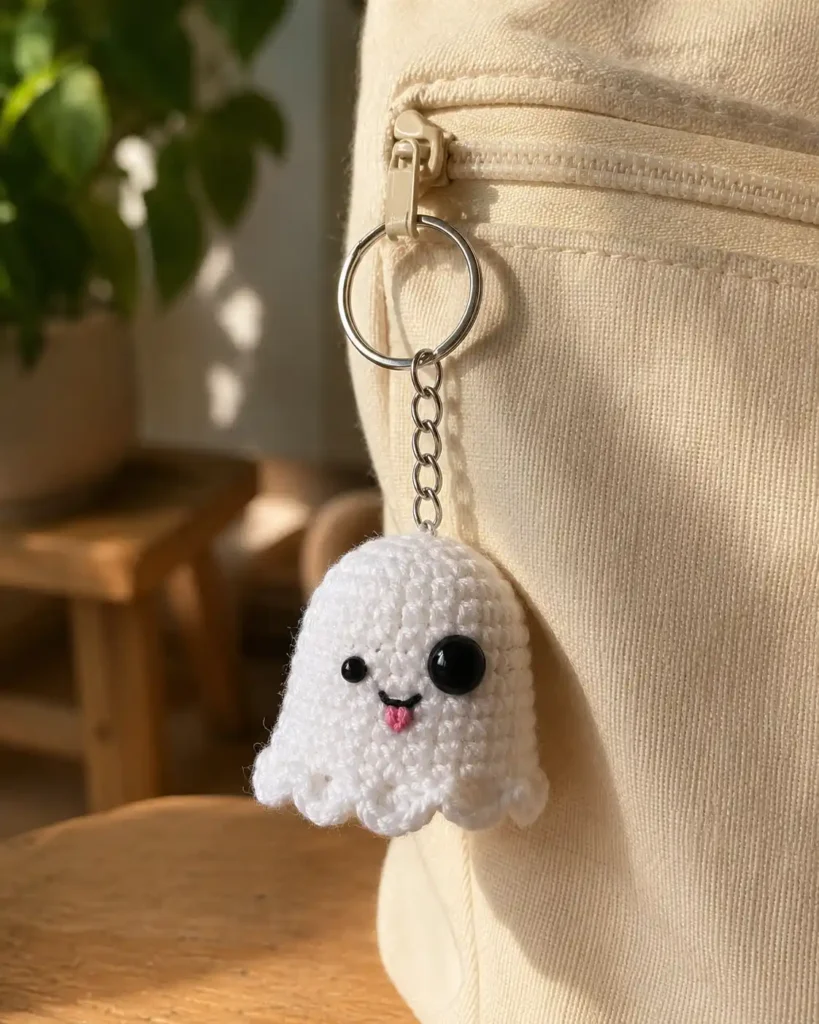
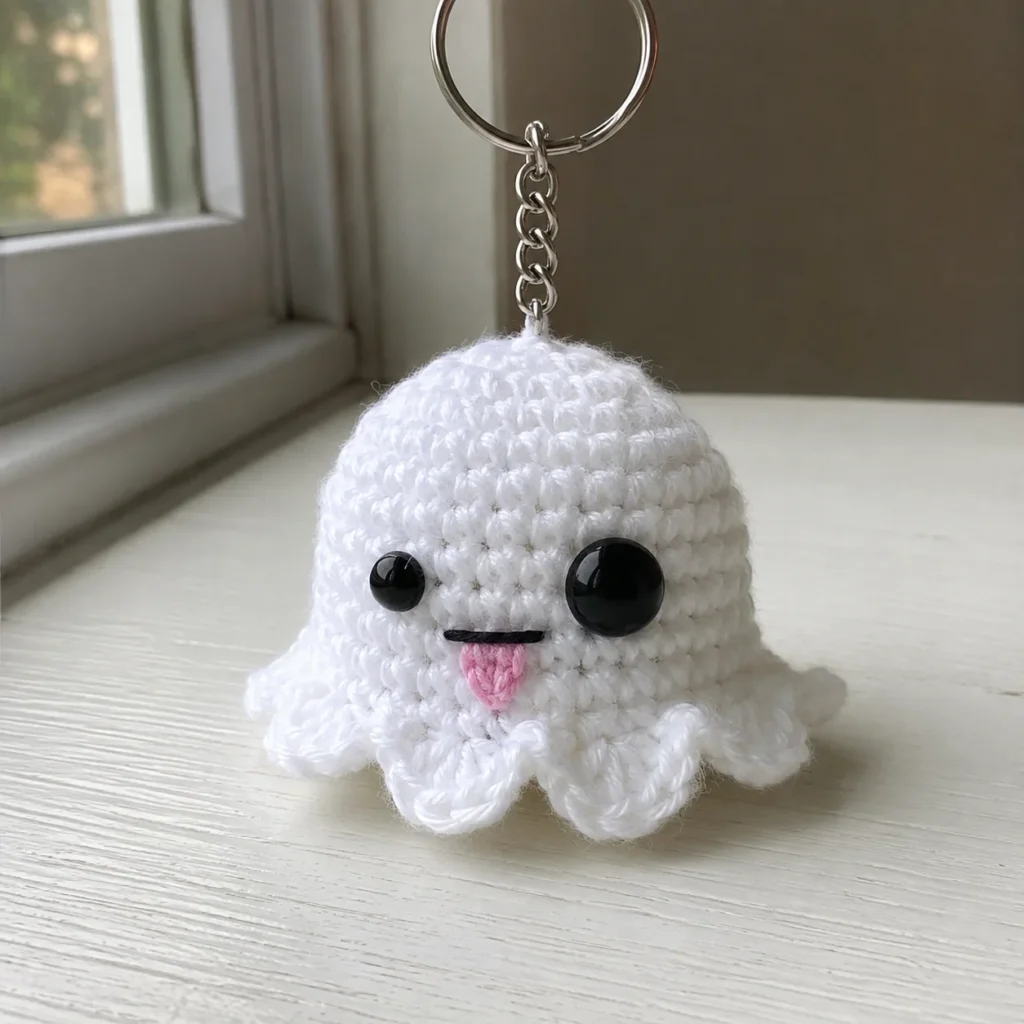
Small crochet projects are especially satisfying when you want to make something cute without committing to several days of work. This crochet ghost free pattern creates a tiny stuffed ghost with a scalloped base, mismatched eyes, a cheeky pink tongue, and a keyring attached at the top.
It makes a charming Halloween accessory, backpack charm, party favor, or handmade gift. The body is worked in continuous rounds using basic single crochet increases, while the decorative edging adds just enough movement to give the ghost its playful floating shape.
This tutorial is based on the original Crocheted Ghost pattern by CatKnit. The instructions have been rewritten and expanded for clarity, while the stitch counts and construction remain faithful to the supplied pattern. Download the complete crochet pattern PDF for free below and save it for later.
Explore more handmade crochet inspiration on Crochet Rooms.
About This Crochet Ghost Pattern
The ghost is crocheted from the top downward. You will make the main body first, add the facial details, crochet a decorative border around the lower edge, and then close the ghost with a separate flat circle.
The project uses a 2.5 mm crochet hook and fine cotton yarn. The original pattern recommends DMC Natura Just Cotton in white, black, and pink shades. It also uses two different eye sizes, which gives the finished ghost its funny, slightly mischievous expression.
The finished measurements are not specified in the original pattern. Your final size will depend on your yarn, hook, tension, and how firmly you stuff the body.
Materials
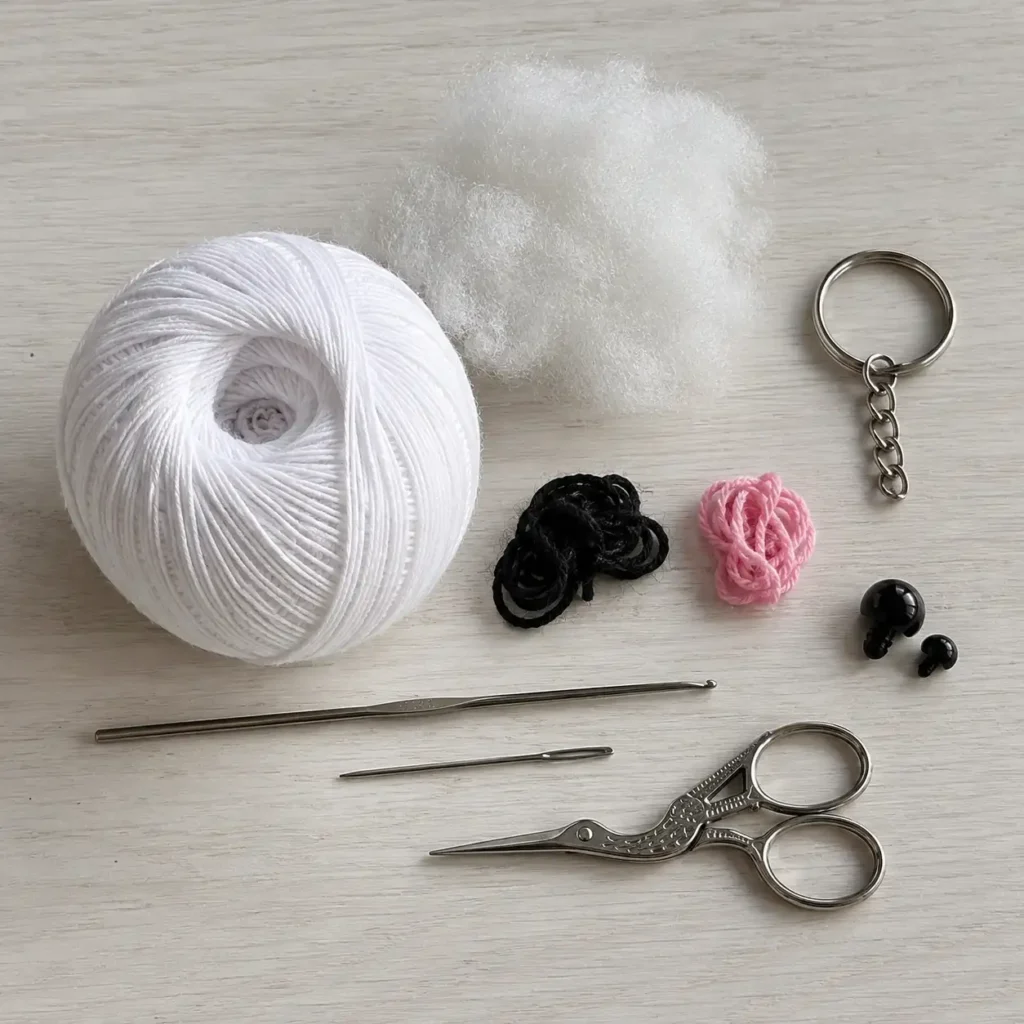
You will need:
- 2.5 mm crochet hook
- DMC Natura Just Cotton or a similar fine cotton yarn
- White yarn for the body
- Black yarn for the mouth
- Pink yarn for the tongue
- Yarn needle
- Scissors
- Polyester stuffing
- One 6 mm black safety eye
- One 9 mm black safety eye
- Keyring with a short chain
- Stitch marker, optional
The original colors listed in the pattern are DMC Natura Just Cotton Ibiza for the body, Noir for the mouth, and Gerbera for the tongue.
DMC describes Natura Just Cotton as a fine 100% combed cotton yarn with a matte finish and clear stitch definition. A 50-gram ball contains approximately 155 meters. DMC generally recommends a 3 mm hook, but the smaller 2.5 mm hook used here helps create the dense fabric needed for stuffed amigurumi. View the official DMC Natura yarn details.
Crochet Abbreviations
This pattern is written using US crochet terminology.
- ch: chain
- sc: single crochet
- dc: double crochet
- inc: work two single crochets in the same stitch
- sl st: slip stitch
- st/sts: stitch/stitches
- rnd: round
- MR: magic ring
These abbreviations follow commonly used crochet terminology listed by the Craft Yarn Council. See the complete crochet abbreviation guide.
Important Pattern Notes
Work the body in continuous spiral rounds unless stated otherwise. Do not join each round with a slip stitch.
Place a stitch marker in the first stitch of every round and move it upward as you work.
Gauge is not essential for this project. The most important thing is creating a firm fabric without visible gaps. Loose stitches may allow the stuffing to show through.
Keep your tension consistent, especially when making the flat bottom circle. The bottom needs to match the 24 stitches in the final body round.
Crochet Ghost Body
Using white yarn, make a magic ring.
Round 1: Work 6 sc into the magic ring. (6)
Round 2: Inc in every stitch around. (12)
Round 3: Repeat 1 sc, inc around. (18)
Round 4: Repeat 2 sc, inc around. (24)
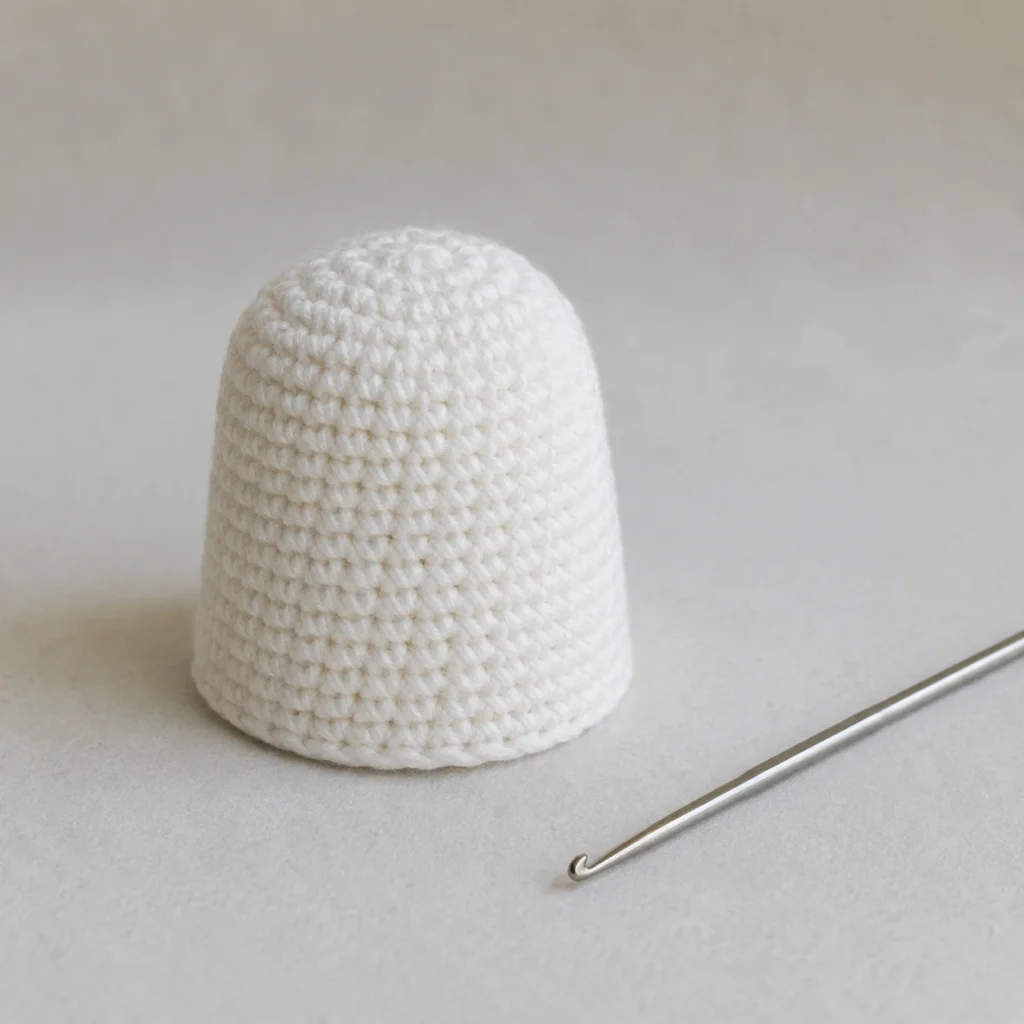
Rounds 5–12: Work 1 sc in every stitch around. (24 stitches per round)
Fasten off after Round 12.
These rounds create a small cup-shaped body with a rounded top and straight sides. The original pattern increases from 6 to 24 stitches before working eight even rounds.
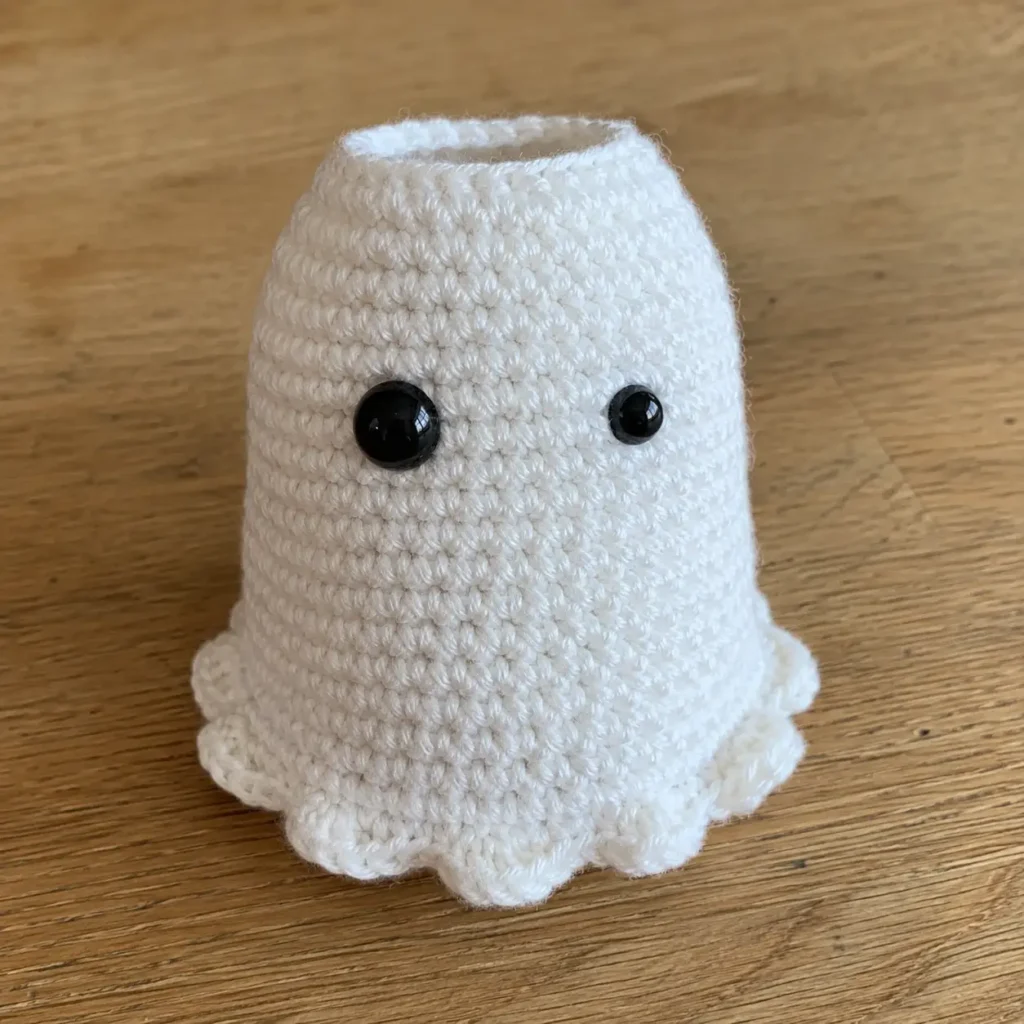
Add the Safety Eyes
Place the eyes between Rounds 6 and 7.
Use the 6 mm eye on one side and the 9 mm eye on the other. Leave approximately three stitches between the eye posts, then secure the washers firmly inside the body.
Check the face from the front before fastening both washers. The uneven eye sizes are intentional and give the ghost its distinctive expression.
Make the Pink Tongue
Using pink yarn, make a magic ring.
Work 6 sc into the magic ring. Pull the ring closed, then fasten off while leaving a long yarn tail for sewing.
Gently flatten the small crochet circle. Position it below the center of the eyes, around Round 8, with part of the pink piece extending downward like a tongue.
Use the long tail to sew it securely to the body.
Thread black yarn onto your yarn needle and embroider one horizontal stitch across the upper edge of the tongue. The original instructions indicate that this mouth line should span approximately three stitches.
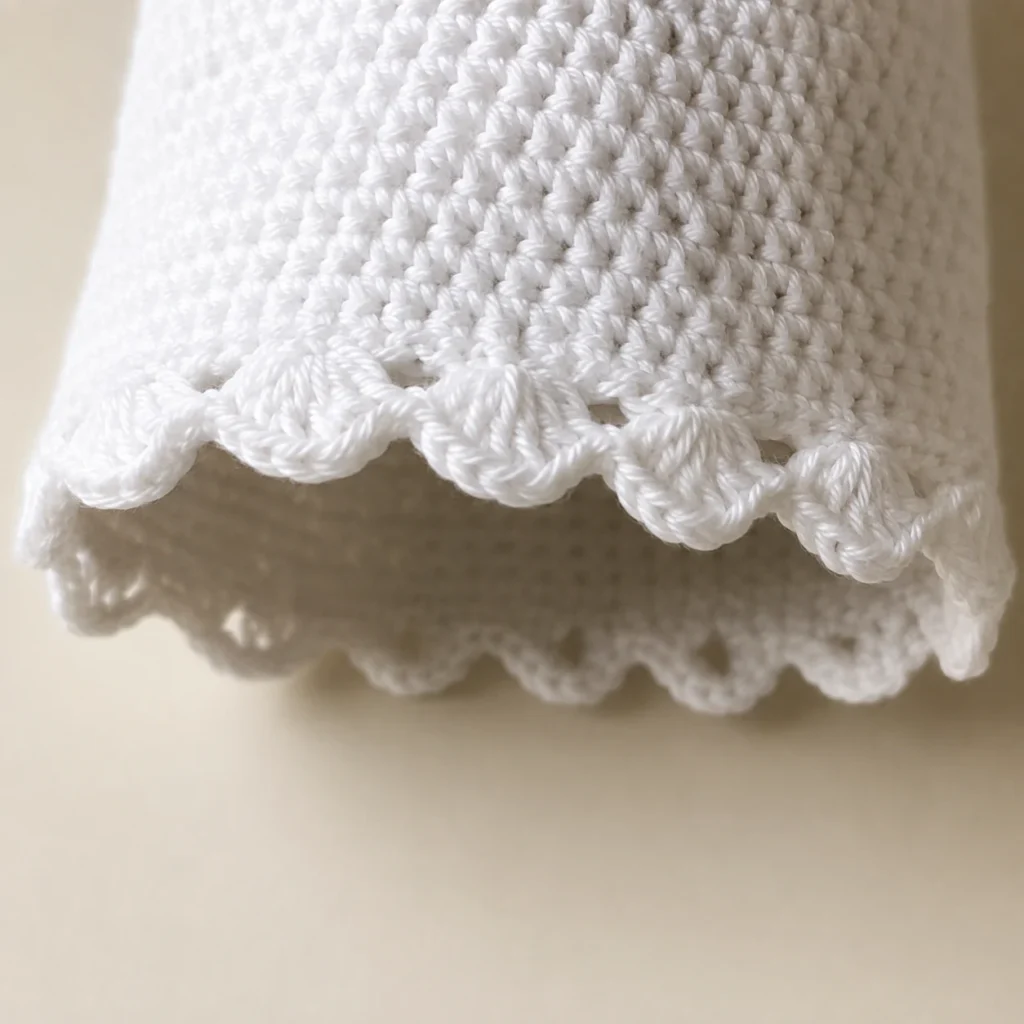
Crochet the Scalloped Bottom Edging
Join or continue with white yarn at the stitch where you fastened off the body.
Work the following repeat around the 24-stitch opening:
Work 1 dc, ch 1, and 1 dc in the same stitch. Sl st in the next stitch.
Repeat this sequence around the entire opening. You should create approximately 12 small scallops.
Fasten off and weave in the yarn end.
Be careful not to close the body yet. The separate bottom circle will be sewn to the final round of the body behind this decorative edging.
Crochet the Bottom Circle
Using white yarn, make another magic ring.
Round 1: Work 6 sc into the magic ring. (6)
Round 2: Inc in every stitch around. (12)
Round 3: Repeat 1 sc, inc around. (18)
Round 4: Repeat 2 sc, inc around. (24)
Fasten off, leaving a long tail for sewing. The final round contains 24 stitches, matching the 24 stitches around the base of the ghost body.
Stuff and Assemble the Ghost
Begin filling the body with small pieces of polyester stuffing. Add the stuffing gradually and spread it evenly around the top and sides.
The ghost should feel firm enough to hold its shape without becoming stiff or stretched. Avoid overstuffing, as too much pressure can create gaps between the stitches.
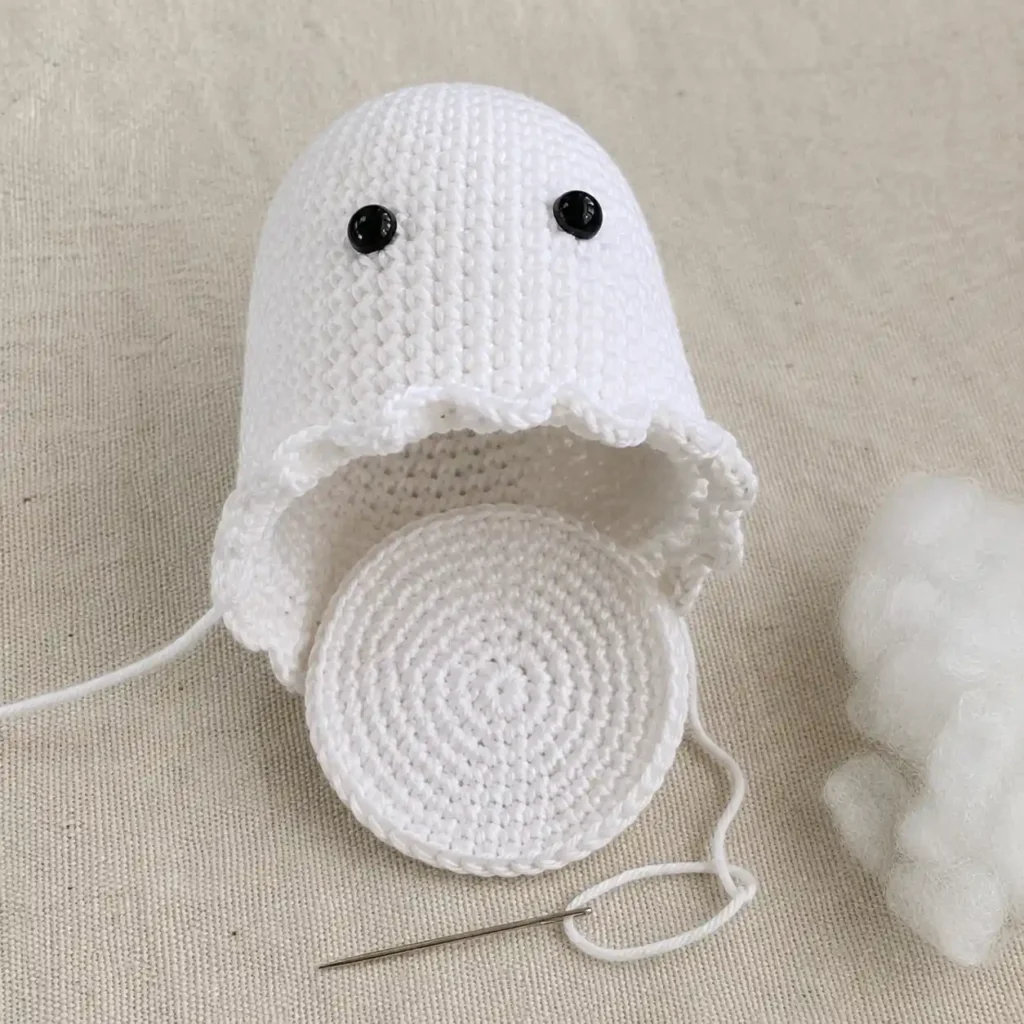
Position the flat bottom circle against the 24 stitches of the final body round. Sew the two pieces together using the long white yarn tail.
Do not sew the circle to the scalloped edging. The edging needs to remain loose so that it can sit around the bottom like a floating ghost skirt.
Before closing the final section, add a little more stuffing if necessary. Finish sewing, secure the yarn, and hide all loose ends inside the body.
Attach the Keyring
Attach the keyring chain through the center stitches of the first round at the top of the ghost.
Make sure the metal chain passes through a secure section of crochet rather than a single loose yarn strand. Gently pull on the ring to check that it will support the weight of the finished ghost.
The original pattern places the keyring at the first round so that the ghost hangs upright.
Safety Note
This pattern uses small plastic safety eyes and a metal keyring. These components are not appropriate for an item intended for a baby or a child under three.
For a child-friendly decorative version, leave off the keyring and embroider both eyes securely with black yarn. The U.S. Consumer Product Safety Commission warns that toys intended for children under three should not contain small detachable parts that could present a choking hazard. Read the CPSC small-parts guidance.
Easy Ways to Customize Your Crochet Ghost
You can change the personality of your ghost without changing the pattern construction. Try using pastel yarn, adding embroidered eyebrows, replacing the pink tongue with a tiny smile, or attaching a small bow near the keyring.
A thicker yarn and matching larger hook will produce a bigger ghost, while thinner thread will create a smaller charm. Keep the same stitch counts and choose a hook that creates a dense fabric.
For a classic Halloween look, keep the body white and add orange, purple, or green facial details.
Frequently Asked Questions
Is this crochet ghost pattern beginner-friendly?
Yes. The project mainly uses a magic ring, single crochet, basic increases, double crochet, chains, and slip stitches. A beginner who can work in continuous rounds should be able to complete it.
Can I use acrylic yarn?
Yes. Fine acrylic yarn can replace cotton, although the texture and finished size may change. Cotton creates crisp stitches and helps the small ghost hold its shape.
Why are the eyes different sizes?
The pattern intentionally uses one 6 mm eye and one 9 mm eye. The asymmetrical face makes the ghost look playful rather than frightening.
Can I crochet the ghost without safety eyes?
Yes. Embroidered eyes are a good alternative, especially when making the ghost for a household with small children.
How do I stop the stuffing from showing?
Use a smaller hook, maintain firm tension, and add stuffing in small amounts. Do not stretch the crochet fabric by overfilling it.
Final Thoughts
This crochet ghost free pattern is a quick way to turn a small amount of leftover yarn into a cheerful Halloween accessory. The mismatched eyes, pink tongue, and scalloped lower edge give the design plenty of personality without requiring complicated shaping.
Attach it to your keys, hang it from a backpack, or make several ghosts as handmade Halloween gifts. For more free crochet patterns and creative project ideas, visit Crochet Rooms.