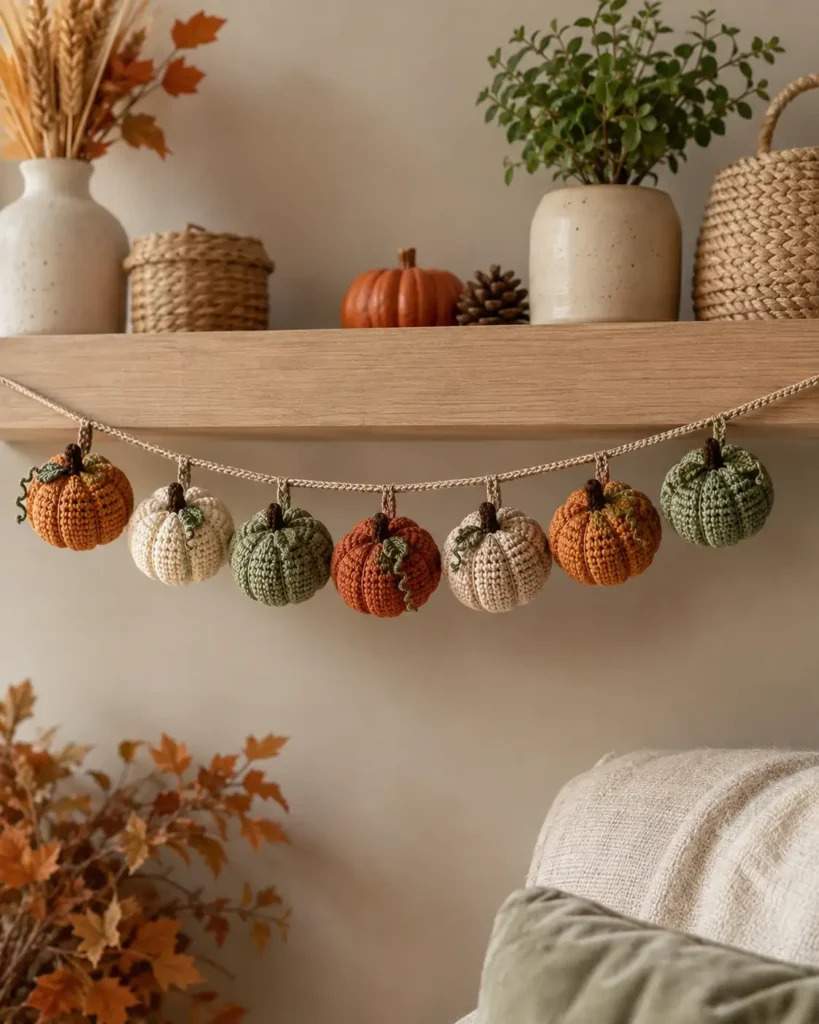
A handmade pumpkin garland is one of those decorations that instantly makes a room feel ready for autumn. The soft stuffed pumpkins add warmth without looking too heavy, while the little brown stems, green leaves, and curly vines give the finished piece plenty of character.
This crochet pumpkin garland free pattern includes everything you need to make a row of small amigurumi pumpkins and join them onto a simple crocheted cord. Hang the finished garland across a mantel, shelf, doorway, kitchen window, or fall-themed party table.
Each pumpkin is worked in continuous rounds, lightly stuffed, and shaped into six rounded sections. The pattern uses basic crochet stitches, so it is approachable for a confident beginner who already knows how to make a magic ring and crochet in the round.
Prefer to keep a printable reference nearby? View the original MevvSan Amigurumi Pumpkins PDF here before you begin.
The supplied reference pattern was designed by MevvSan Design and includes small, medium, and large amigurumi pumpkins. This Crochet Rooms version uses a separate, original mini-pumpkin construction developed specifically for a lightweight hanging garland. The original PDF allows finished items to be sold when credit is given to MevvSan, but its written pattern may not be rewritten, redistributed, or resold.
Explore more seasonal projects and free patterns on Crochet Rooms.
Materials
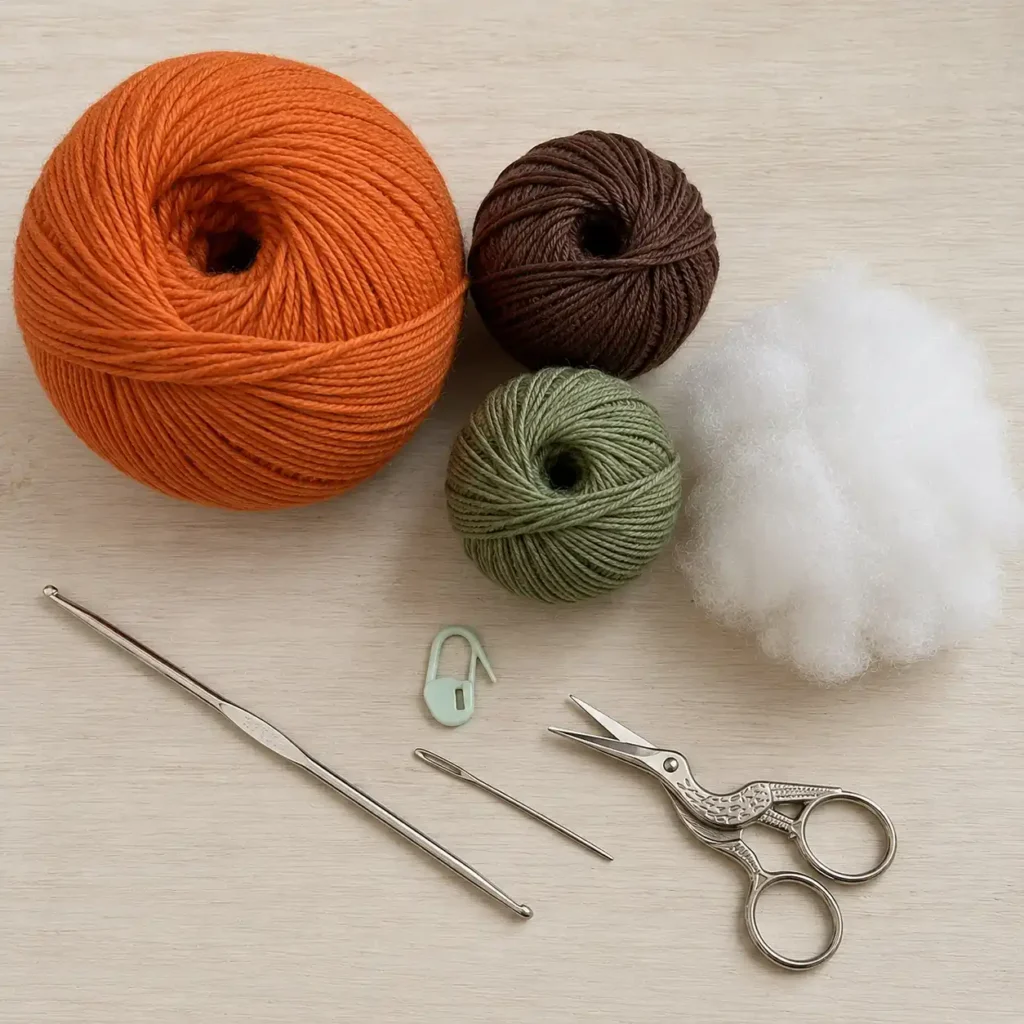
The supplied MevvSan reference pattern uses worsted-weight yarn in orange, brown, and green with a 2.75 mm crochet hook. It also lists polyester stuffing, scissors, a yarn needle, and an optional stitch marker.
For this garland, you will need:
- Worsted-weight orange yarn
- A small amount of brown yarn
- A small amount of green yarn
- 2.75 mm crochet hook
- Polyester fiberfill
- Yarn needle
- Scissors
- Stitch marker
- Sewing pins, optional
The exact yarn amount depends on the number of pumpkins and the length of your garland. Scraps may be enough for the stems, leaves, and vines, but you will need a larger amount of orange for the pumpkin bodies.
A smaller-than-usual hook is helpful for this project because it creates firm stitches that keep the stuffing from showing through.
Skill Level
Confident beginner
You should be comfortable with:
- Making a magic ring
- Working in continuous rounds
- Single crochet increases
- Invisible or standard decreases
- Basic sewing and assembly
New to crocheting in the round? Add your internal tutorial here:
[INTERNAL LINK: How to Crochet a Magic Ring]
Crochet Abbreviations
This pattern uses US crochet terminology.
- ch: chain
- sc: single crochet
- hdc: half double crochet
- dc: double crochet
- tr: treble crochet
- inc: work 2 single crochets in the same stitch
- dec: single crochet decrease
- sl st: slip stitch
- BLO: back loop only
- st/sts: stitch/stitches
- rnd: round
- FO: fasten off
These abbreviations follow the standard US terms published in the Craft Yarn Council crochet abbreviation guide.
Pattern Notes
Work the pumpkin body in continuous spiral rounds. Do not join at the end of each round unless the instructions specifically tell you to do so.
Place a stitch marker in the first stitch of every round and move it upward as you work.
Gauge is not essential. Your stitches should be tight enough that the white stuffing is not visible between them.
The source designer notes that amigurumi may be crocheted with either the traditional right side or the wrong side facing outward. The choice changes the visible texture but should not significantly affect the completed shape.
For this tutorial, keep the traditional right side facing outward.
How Many Pumpkins Should You Make?
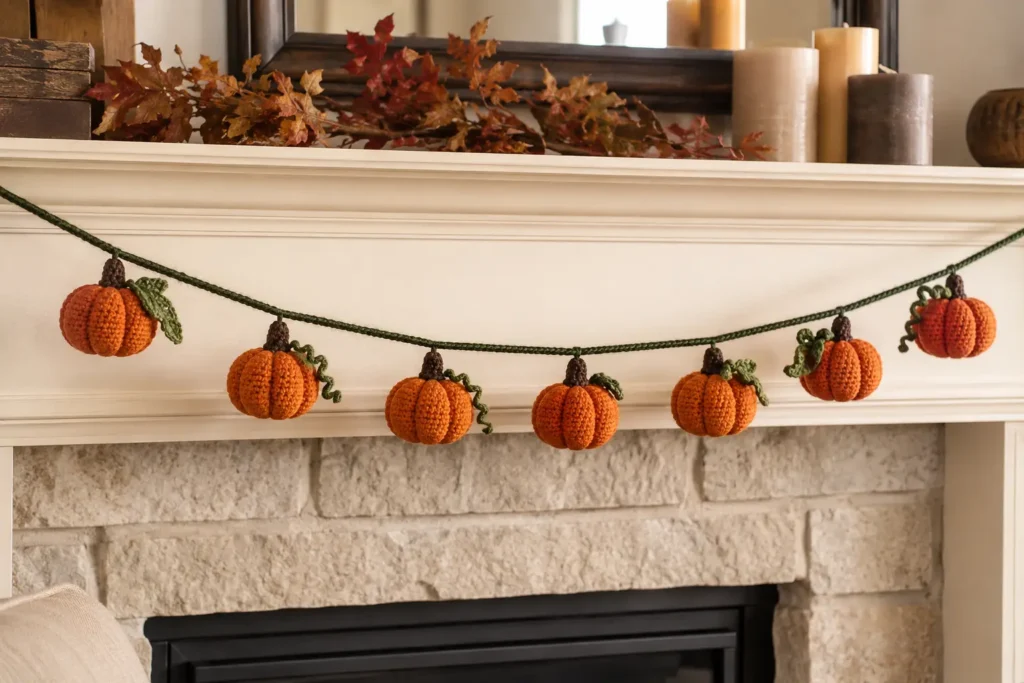
The sample garland uses seven mini pumpkins.
You can adjust the quantity according to the space you want to decorate:
- Five pumpkins for a small shelf
- Seven pumpkins for a standard mantel
- Nine or more pumpkins for a wide window or doorway
For a balanced look, an odd number of pumpkins usually makes it easier to place one pumpkin in the center.
Mini Crochet Pumpkin Pattern
Using orange yarn, make a magic ring.
Round 1: Work 6 sc into the magic ring. (6)
Round 2: Inc in every stitch around. (12)
Round 3: Repeat 1 sc, inc around. (18)
Round 4: Repeat 2 sc, inc around. (24)
Round 5: Repeat 3 sc, inc around. (30)
Rounds 6–9: Work 1 sc in every stitch around. (30 stitches per round)
Round 10: Repeat 3 sc, dec around. (24)
Round 11: Repeat 2 sc, dec around. (18)
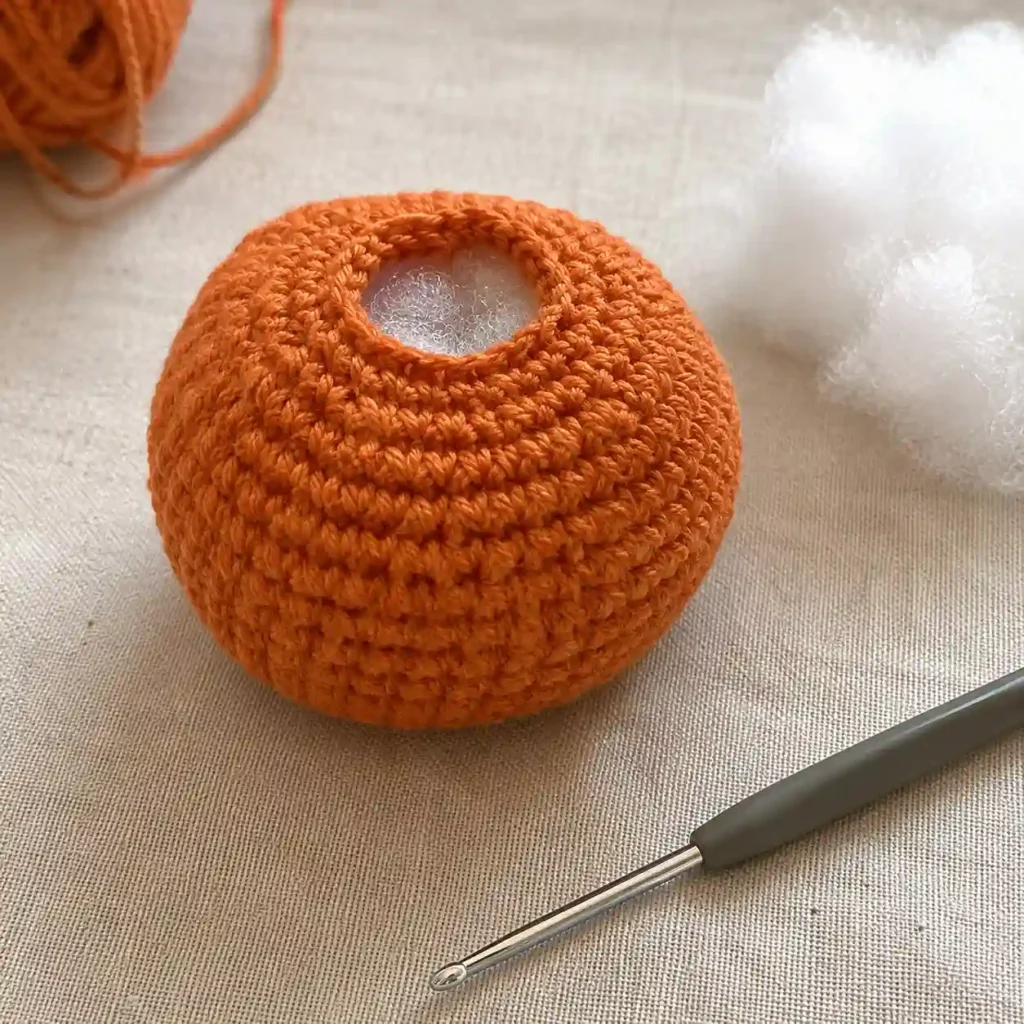
Begin adding small pieces of polyester stuffing. Spread the stuffing evenly around the sides rather than pushing one large piece into the center.
Round 12: Repeat 1 sc, dec around. (12)
Add more stuffing until the pumpkin feels firm but not stretched.
Round 13: Dec around. (6)
Fasten off, leaving a yarn tail approximately 30 inches or 75 cm long.
Thread the tail through the front loops of the final six stitches and pull firmly to close the opening. Do not cut or weave in the remaining tail because it will be used to shape the pumpkin.
Repeat the pattern until you have the desired number of pumpkins.
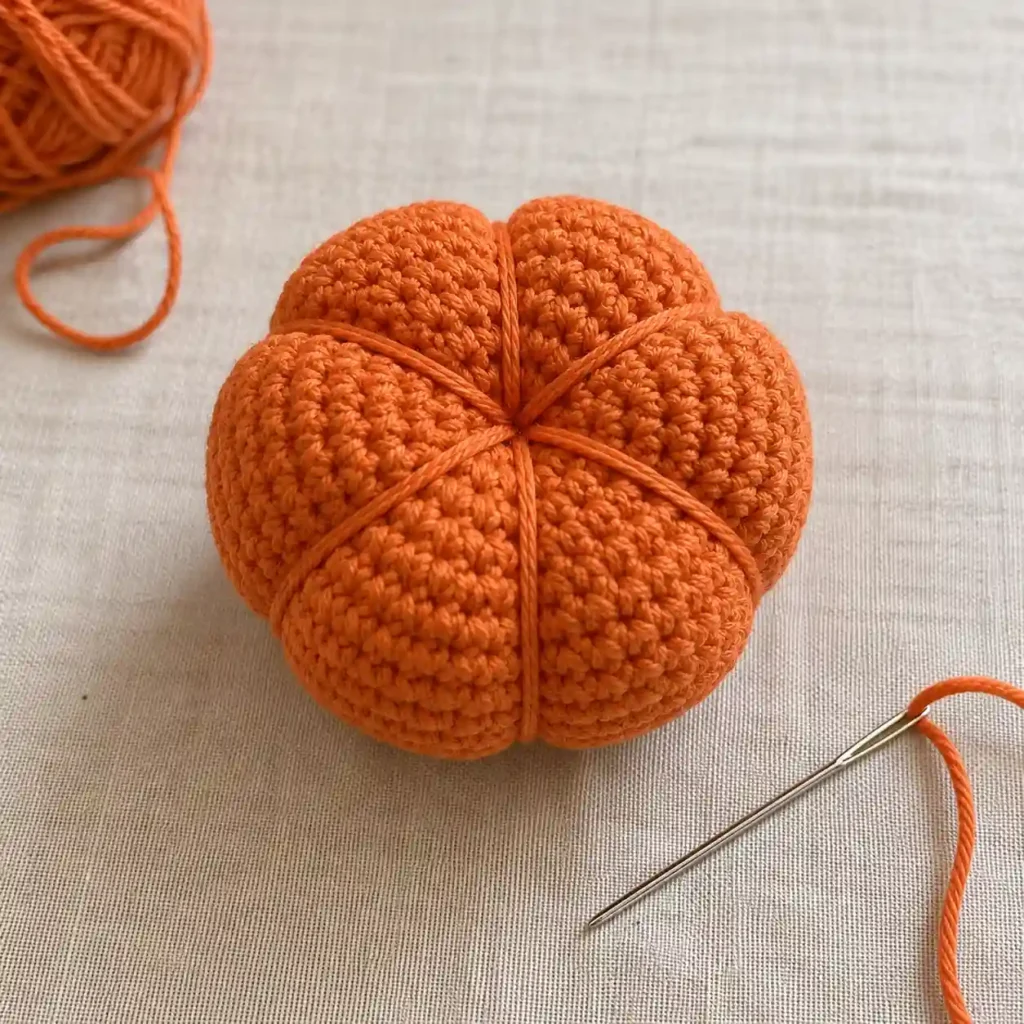
Shape the Pumpkin Sections
Thread the long orange yarn tail onto your yarn needle.
Take the needle through the center of the pumpkin from the top to the bottom. Bring the yarn up around the outside of the pumpkin and insert the needle through the center again.
Pull the yarn firmly enough to create one clear indentation, but do not pull so hard that the crochet fabric becomes distorted.
Repeat this process around the pumpkin until you have created six evenly spaced sections.
Pass the yarn through each section more than once when you want deeper, more defined grooves. The reference PDF also uses an outside wrapping technique to divide the finished pumpkin into six sections.
Secure the yarn at the top, hide the remaining tail inside the pumpkin, and trim it.
Crochet the Brown Stem
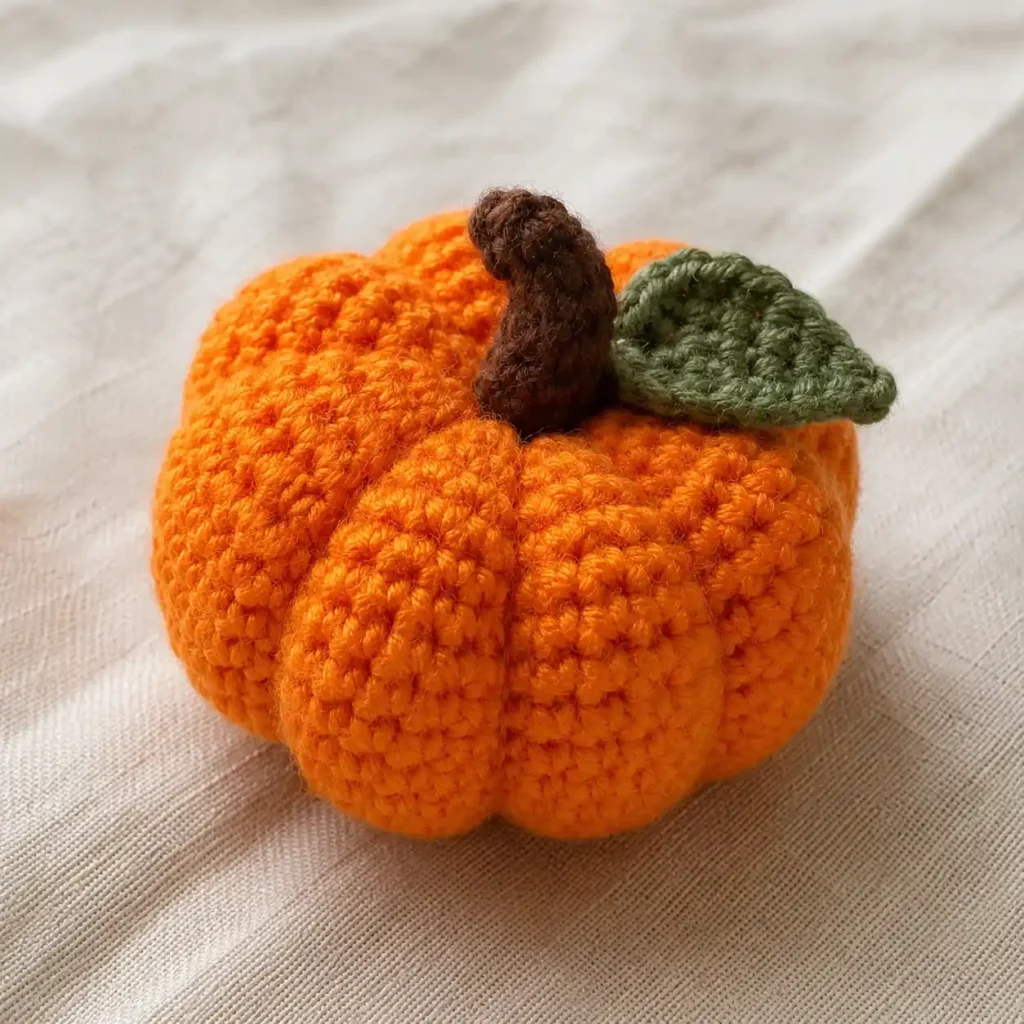
Using brown yarn, make a magic ring.
Round 1: Work 6 sc into the magic ring. (6)
Round 2: Working in the BLO, sc in every stitch around. (6)
Rounds 3–4: Sc in every stitch around. (6)
Fasten off, leaving a long tail for sewing.
Do not stuff the stem. Flatten the open lower edge slightly and sew it securely over the center top of the pumpkin.
The BLO round creates a subtle edge at the base and helps the little stem stand upright.
Repeat for every pumpkin.
Crochet an Optional Leaf
Using green yarn, ch 7.
Starting in the second chain from the hook, work:
Sl st, sc, hdc, dc, tr.
Work 5 tr into the final chain.
Continue along the opposite side of the foundation chain and work:
Tr, dc, hdc, sc, sl st.
Join with a sl st near the base of the leaf and fasten off, leaving a tail for sewing.
Sew the base of the leaf beside the brown stem. Add leaves to every pumpkin or alternate them for a lighter, less crowded appearance.
Make a Curly Crochet Vine
Using green yarn, ch 16.
Starting in the second chain from the hook, work 2 sc in every chain across.
The extra stitches will cause the strip to curl naturally into a spiral.
Fasten off, leaving a tail for sewing. Attach one end beside the stem and allow the remaining vine to curl loosely down the side of the pumpkin.
The source PDF also includes optional vines and a three-point leaf for decorating its amigurumi pumpkins.
Avoid adding a vine to every pumpkin. A few vines placed across the garland will make the finished arrangement feel more natural.
Make the Crochet Garland Cord
Using green, brown, cream, or another coordinating yarn, make a chain until it measures approximately 48 inches or 122 cm.
For a shorter or longer garland, simply adjust the chain to fit your decorating space.
Starting in the second chain from the hook, sl st in every chain across. Working back along the chain creates a stronger cord that is less likely to stretch under the weight of the stuffed pumpkins.
Fasten off, leaving an 8-inch tail at both ends.
Fold approximately 2 inches of cord at each end into a small hanging loop. Use the yarn tails to sew each loop securely, then weave in the ends.
Attach the Pumpkins to the Garland
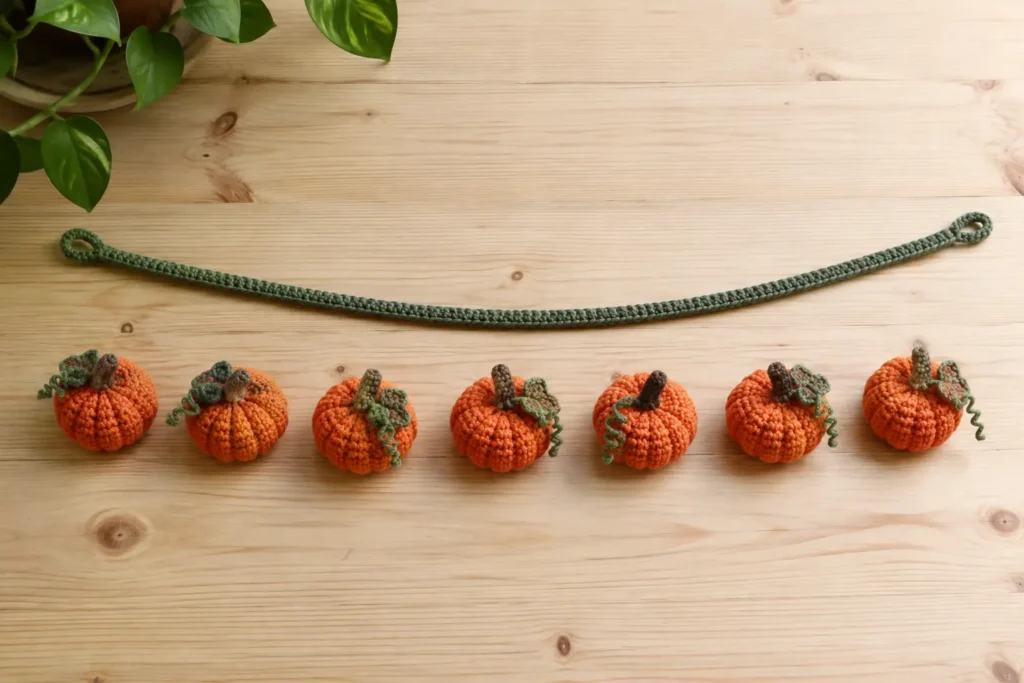
Lay the completed cord flat on a table and arrange the pumpkins underneath it before sewing anything in place.
For a seven-pumpkin garland, place one pumpkin in the center first. Position three pumpkins on each side, leaving approximately 5 to 6 inches between them.
Adjust the spacing until the arrangement looks balanced.
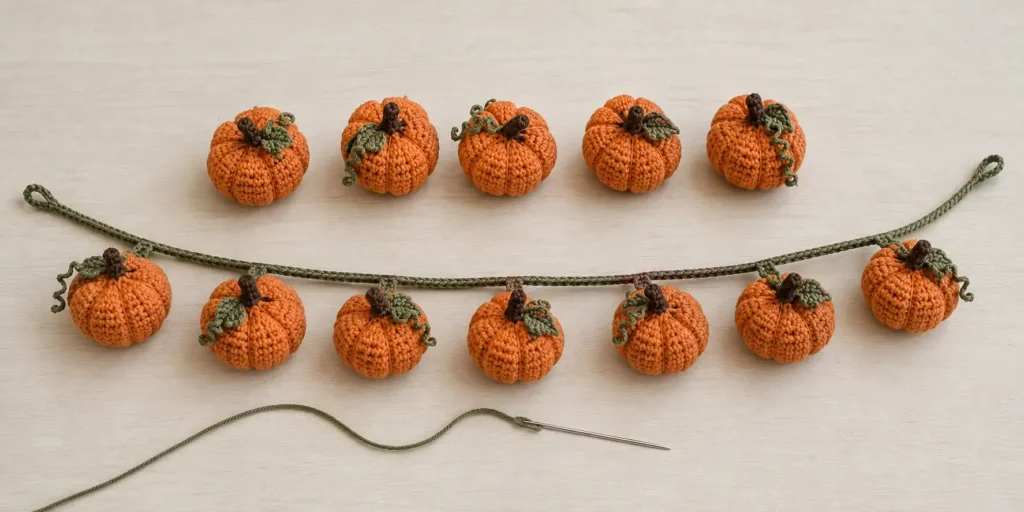
Thread a length of matching yarn onto your needle. Pass the needle through the top of the pumpkin, just below the stem, then around the crochet cord.
Repeat several times until the pumpkin is firmly attached. Knot the yarn securely and hide the ends inside the pumpkin.
Do not attach the pumpkin by the stem alone. The stem may bend or pull away under the weight of the stuffed body.
After sewing all the pumpkins to the cord, hold the garland up and check the spacing. Make any adjustments before adding the final decorative leaves and vines.
Styling Your Pumpkin Garland
Classic orange pumpkins look warm and traditional, but you can easily change the colors to suit your home.
Try cream, rust, mustard, sage green, dusty pink, or warm brown for a softer modern palette. You can also alternate two or three colors along the garland.
For Halloween, use orange pumpkins with black stems and a dark charcoal cord. For Thanksgiving, combine burnt orange, cream, olive green, and golden yellow.
The garland can be displayed across:
- A fireplace mantel
- An open shelf
- A kitchen window
- A doorway
- A fall party table
- The front of a bookcase
- A seasonal wall display
Keep the garland indoors or in a protected covered area. Yarn and polyester stuffing can absorb moisture when exposed to rain or damp outdoor conditions.
Helpful Finishing Tips
Stuff every pumpkin with approximately the same firmness so the garland feels balanced.
Check the placement of the stems before sewing. A slightly angled stem may look charming, but it should not appear loose.
Shape all six pumpkin sections before adding the stem. It is more difficult to pass the needle repeatedly through the center after the stem has been attached.
Weave in every yarn end carefully. Loose ends become more noticeable when a garland is hanging at eye level.
Steam blocking is not usually necessary for the stuffed pumpkins. When the leaves curl too much, lightly shape them with your fingers instead of pressing them flat.
For another small seasonal amigurumi project, add your internal link here:
[INTERNAL LINK: Best Crochet Ghost Free Pattern]
Frequently Asked Questions
Is this crochet pumpkin garland beginner-friendly?
Yes. The pattern uses basic amigurumi increases, decreases, single crochet stitches, and simple sewing. The shaping step may require a little patience, but it does not involve advanced crochet techniques.
How many pumpkins do I need?
Seven pumpkins work well for a medium garland. Use five for a small shelf or make nine or more for a wider display.
Can I make pumpkins in different sizes?
Yes. Changing the yarn thickness and hook size will change the finished dimensions. You can also use the original authorized MevvSan PDF, which provides separate instructions for small, medium, and large pumpkins.
Can I use acrylic yarn?
Yes. Acrylic, cotton, or a blended worsted-weight yarn can work. Choose a yarn with enough stitch definition to show the shaped pumpkin sections clearly.
Why does the pattern use such a small hook?
A small hook produces dense amigurumi fabric. This helps the pumpkin hold its shape and reduces visible gaps between stitches.
Can I leave off the leaves and vines?
Absolutely. The pumpkins, stems, and cord are enough to create a simple garland. Leaves and vines are optional decorative details.
Can I wash the garland?
Follow the care instructions on your yarn label. Spot cleaning is usually the easiest option because the project contains stuffing and several sewn components.
Final Thoughts
This crochet pumpkin garland free pattern is a lovely way to decorate for fall while using simple stitches and small amounts of colorful yarn. The stuffed pumpkins look charming on their own, but the leaves, curly vines, and sturdy crochet cord turn them into a complete seasonal display.
Make a traditional orange garland or choose a softer neutral palette that can remain in your home throughout the entire autumn season.
Discover more handmade home decorations and free crochet patterns on Crochet Rooms.